- 1 Post
- 30 Comments
Assuming you are installing your Steam library on your ext4 partition rather than ntfs one for your Windows install, BeamNG will likely be the easier game to diagnose for your game crashes on launch. The log file to find for BeamNG is located by default in
steamapps/compatdata/284160/pfx/drive_c/users/steamuser/AppData/Local/BeamNG.drive/0.32/as beamng.log. By default in a standard Steam install, your steam library is located at~/.steam/root/. I am unsure if Bazzite installs Steam as a Flatpak. If it does, the default Steam library should be at~/.var/app/com.valvesoftware.Steam/data/Steam/. If you chose a custom location for your Steam library, it will be wherever you chose it to be.
How are these games (Lethal Company, BeamNG) installed? If they came from a Windows install on NTFS, just reinstall them on a proper filesystem and then you will be able to play them through proton. Roblox just doesn’t work so it’s not worth testing.
2-2-1 still insinuates having a remote backup. I don’t see how this particular threat destroys a 2-2-1 setup.

 9·5 months ago
Add SKSE manually, add it as an executable option in MO2.

 1·5 months ago
What makes Nextcloud unreliable for your use case? I’ve used the calendar (caldav) functionality for years without issue in sync.

 6·5 months ago
I’d imagine mpd with one of many frontends would work well enough. You’d just need to use a dummy music library directory with symlinks to your four music storages for mpd to pick up and catalog everything.
Tbf to cloud sync, nothing is stopping you from using your own backup/restore service with your drm-free titles compared to the other features that Galaxy offers.
GOG has DRM for many titles: see Galaxy. As I understand it, it isn’t as pervasive as Steam, but is necessary if you want multiplayer on many titles or care about extras like achievements.
On my Fedora KDE install on 40, hibernate is now an available power option. The install has been in upgrade cycles since 35 at this point. I would imagine that barring different DEs showing different power options being a possibility, it is more on detecting hardware compatibility for functional hibernation.
Use the OCI through podman or docker.
What compositor (desktop environment) and distro are you running for things to behave that poorly?
The worst gotchas and limitations I have seen building my own self-host stack with ipv6 in mind has been individual support by bespoke projects more so system infrastructure. As soon as you get into containerized environments, things can get difficult. Podman has been a pain point with networking and ipv6, though newer versions have become more manageable. The most problems I have seen is dealing with various OCI containers and their subpar implementations of ipv6 support.
You’d think with how long ipv6 has been around, we’d see better adoption from container maintainers, but I suppose the existence of ipv6 in a world originally built on ipv4 is a similar issue of adoption likewise to Linux and Windows as a workstation. Ultimately, if self-rolling everything in your network stack down to the servers, ipv6 is easy to integrate. The more one offloads in the setup to preconfigured and/or specialized tools, the more I have seen ipv6 support fall to the wayside, at least in terms of software.
Not to mention hardware support and networking capabilities provided by an ISP. My current residential ISP only provides ipv4 behind cgnat to the consumer. To even test my services on ipv6, I need to run a VPN connection tunneling ipv6 traffic to an endpoint beyond my ISP.
If that is the case, the developer should have likely noted otherwise before closing the issue as the final piece of discussion. That is good to know that your experience hasn’t dropped the OS into base Windows 11. If as you say is true, the developer should also really spend some time cleaning up the README and clarify that base Tiny11 can actually be updated in-OS. I will still test in a VM later today to confirm that Tiny11 doesn’t actually erode or degrade on update for myself.
From the Github README:
Also, for the very first time, introducing tiny11 core builder! A more powerful script, designed for a quick and dirty development testbed. Just the bare minimun, none of the fluff. This script generates a significantly reduced Windows 11 image. However, it’s not suitable for regular use due to its lack of serviceability - you can’t add languages, updates, or features post-creation. tiny11 Core is not a full Windows 11 substitute but a rapid testing or development tool, potentially useful for VM environments.
It literally says that it cannot be updated from a built OS install. You need to reinstall tiny11 by rebuilding the install image with a newer Windows 11 base image. Obviously it would be best to do this every time there is a security patch release for Windows 11.
EDIT: Rereading further, the bigger Tiny11 image might be able to be updated in-OS. I’m going to dig through the ps1 scripts to see if the README holds up to that un-noted capability.
EDIT2: I don’t see any registry edits that knock Windows Updater offline. I’ll test it in a VM to see if things work (from prebuilt when it eventually downloads). Though I am unsure at this moment if such an image’s changes will survive a Windows update at all.
EDIT3: VM not tested yet, but an issue on the GitHub seems to corroborate my initial assumption.
EDIT4: VM tested. Things claimed to be patched out (Edge) came back with one of the cumulative updates applied shortly after install. Other cumulative updates are being blocked (error instantly on attempt to install after download) (perhaps unintentionally). Image downloaded claimed to be for 23H2, but Windows 11 22H2 was installed, seemingly with no way to actually upgrade. I think my point stands.
Do note that this system is liable to leave your computer vulnerable as it has no way to update itself from within the OS.
This image would be fine for booting short-term VMs as long as you periodically rebuild and reinstall it, but not ready for consumer use.
The A485 is actually such a terrible laptop. I would never reccomend such garbage to anyone considering mine almost never worked properly. I had in three years have six main board replacements for various hardware faults. Not a single of the boards has been free from severe hardware faults.

 3·7 months ago
I have been utilizing BunkerWeb for some of my selfhost sites since it was bunkerized-nginx. It is indeed powerful and flexible, allowing multi-site proxying, hosting while allowing semi-flexible per-site security tweaks (some security options are forcibly global still, a limitation).
I use it on podman myself, and while it is generally great for having OWasp CRS, general traffic filtering targets and more built on top of nginx in a Docker container, the way Bunkerweb needs to be run hasn’t really remained stable between versions. Throughout several version upgrades, there have been be severe breaking changes that will require reading the setup documentation again to get the new version functional.

 2·7 months ago
I just did some testing in the past hour or so and did a portable install from scratch using the Fedora Workstation 39 iso. I’m not exactly sure what your hardware detection issue would have been, but I can say that Anaconda could detect both a USB flash drive and an external hard drive I had plugged in.
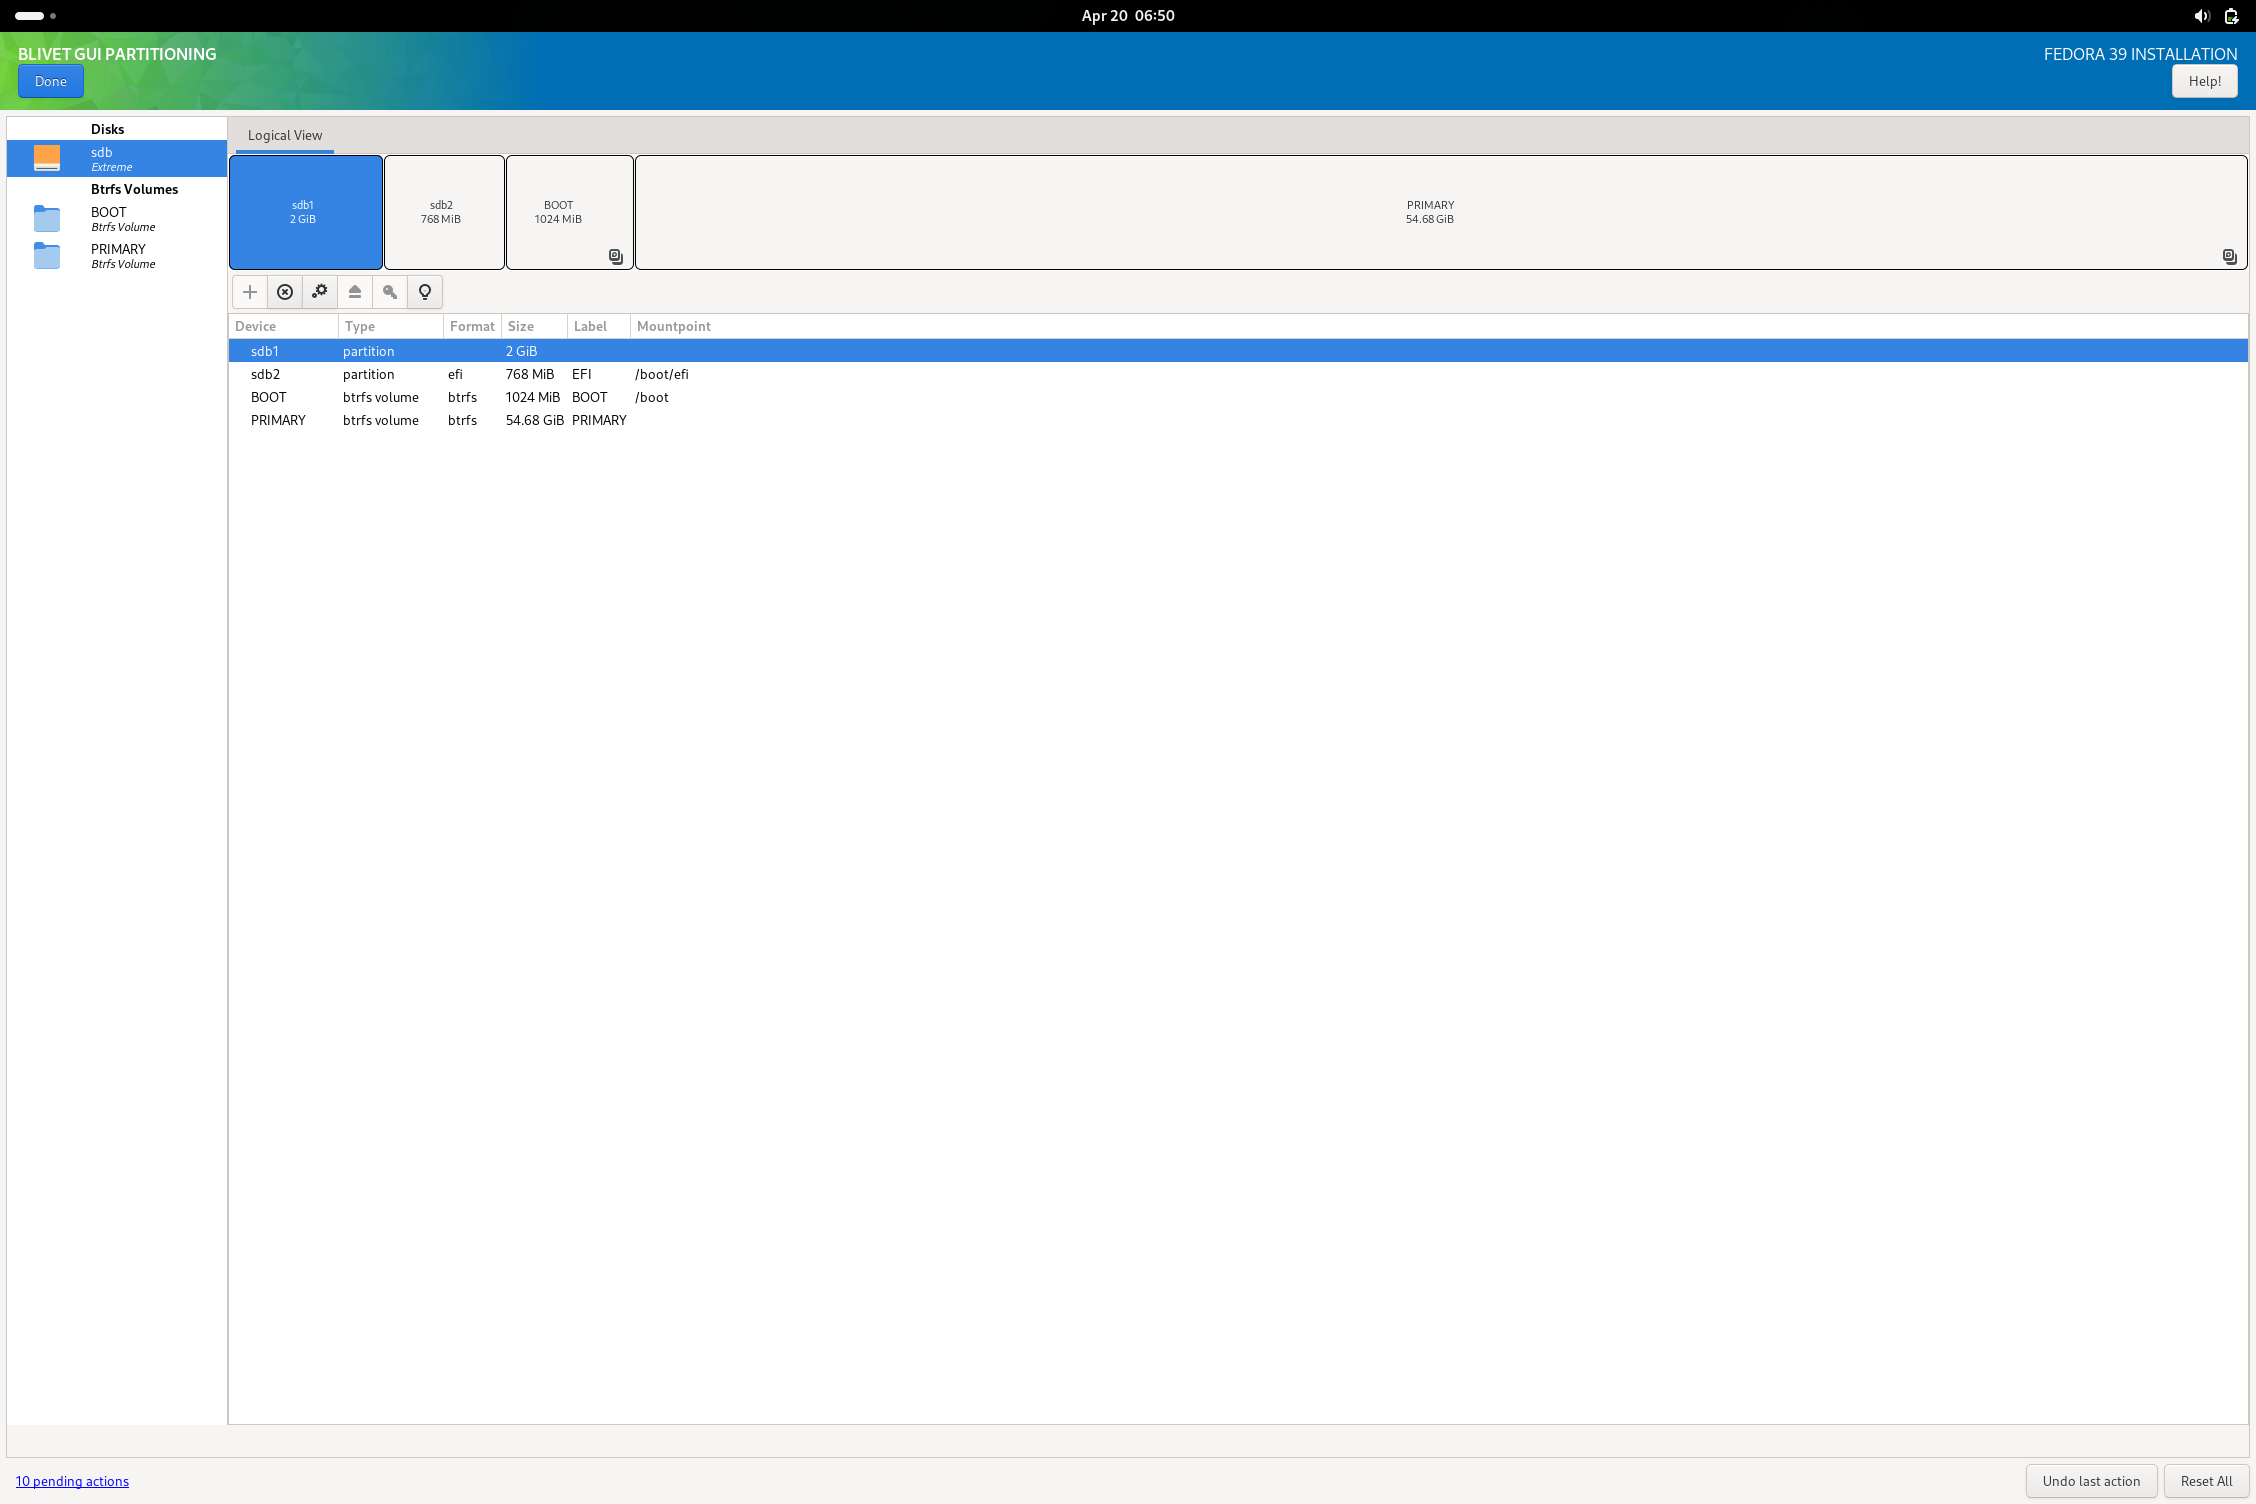
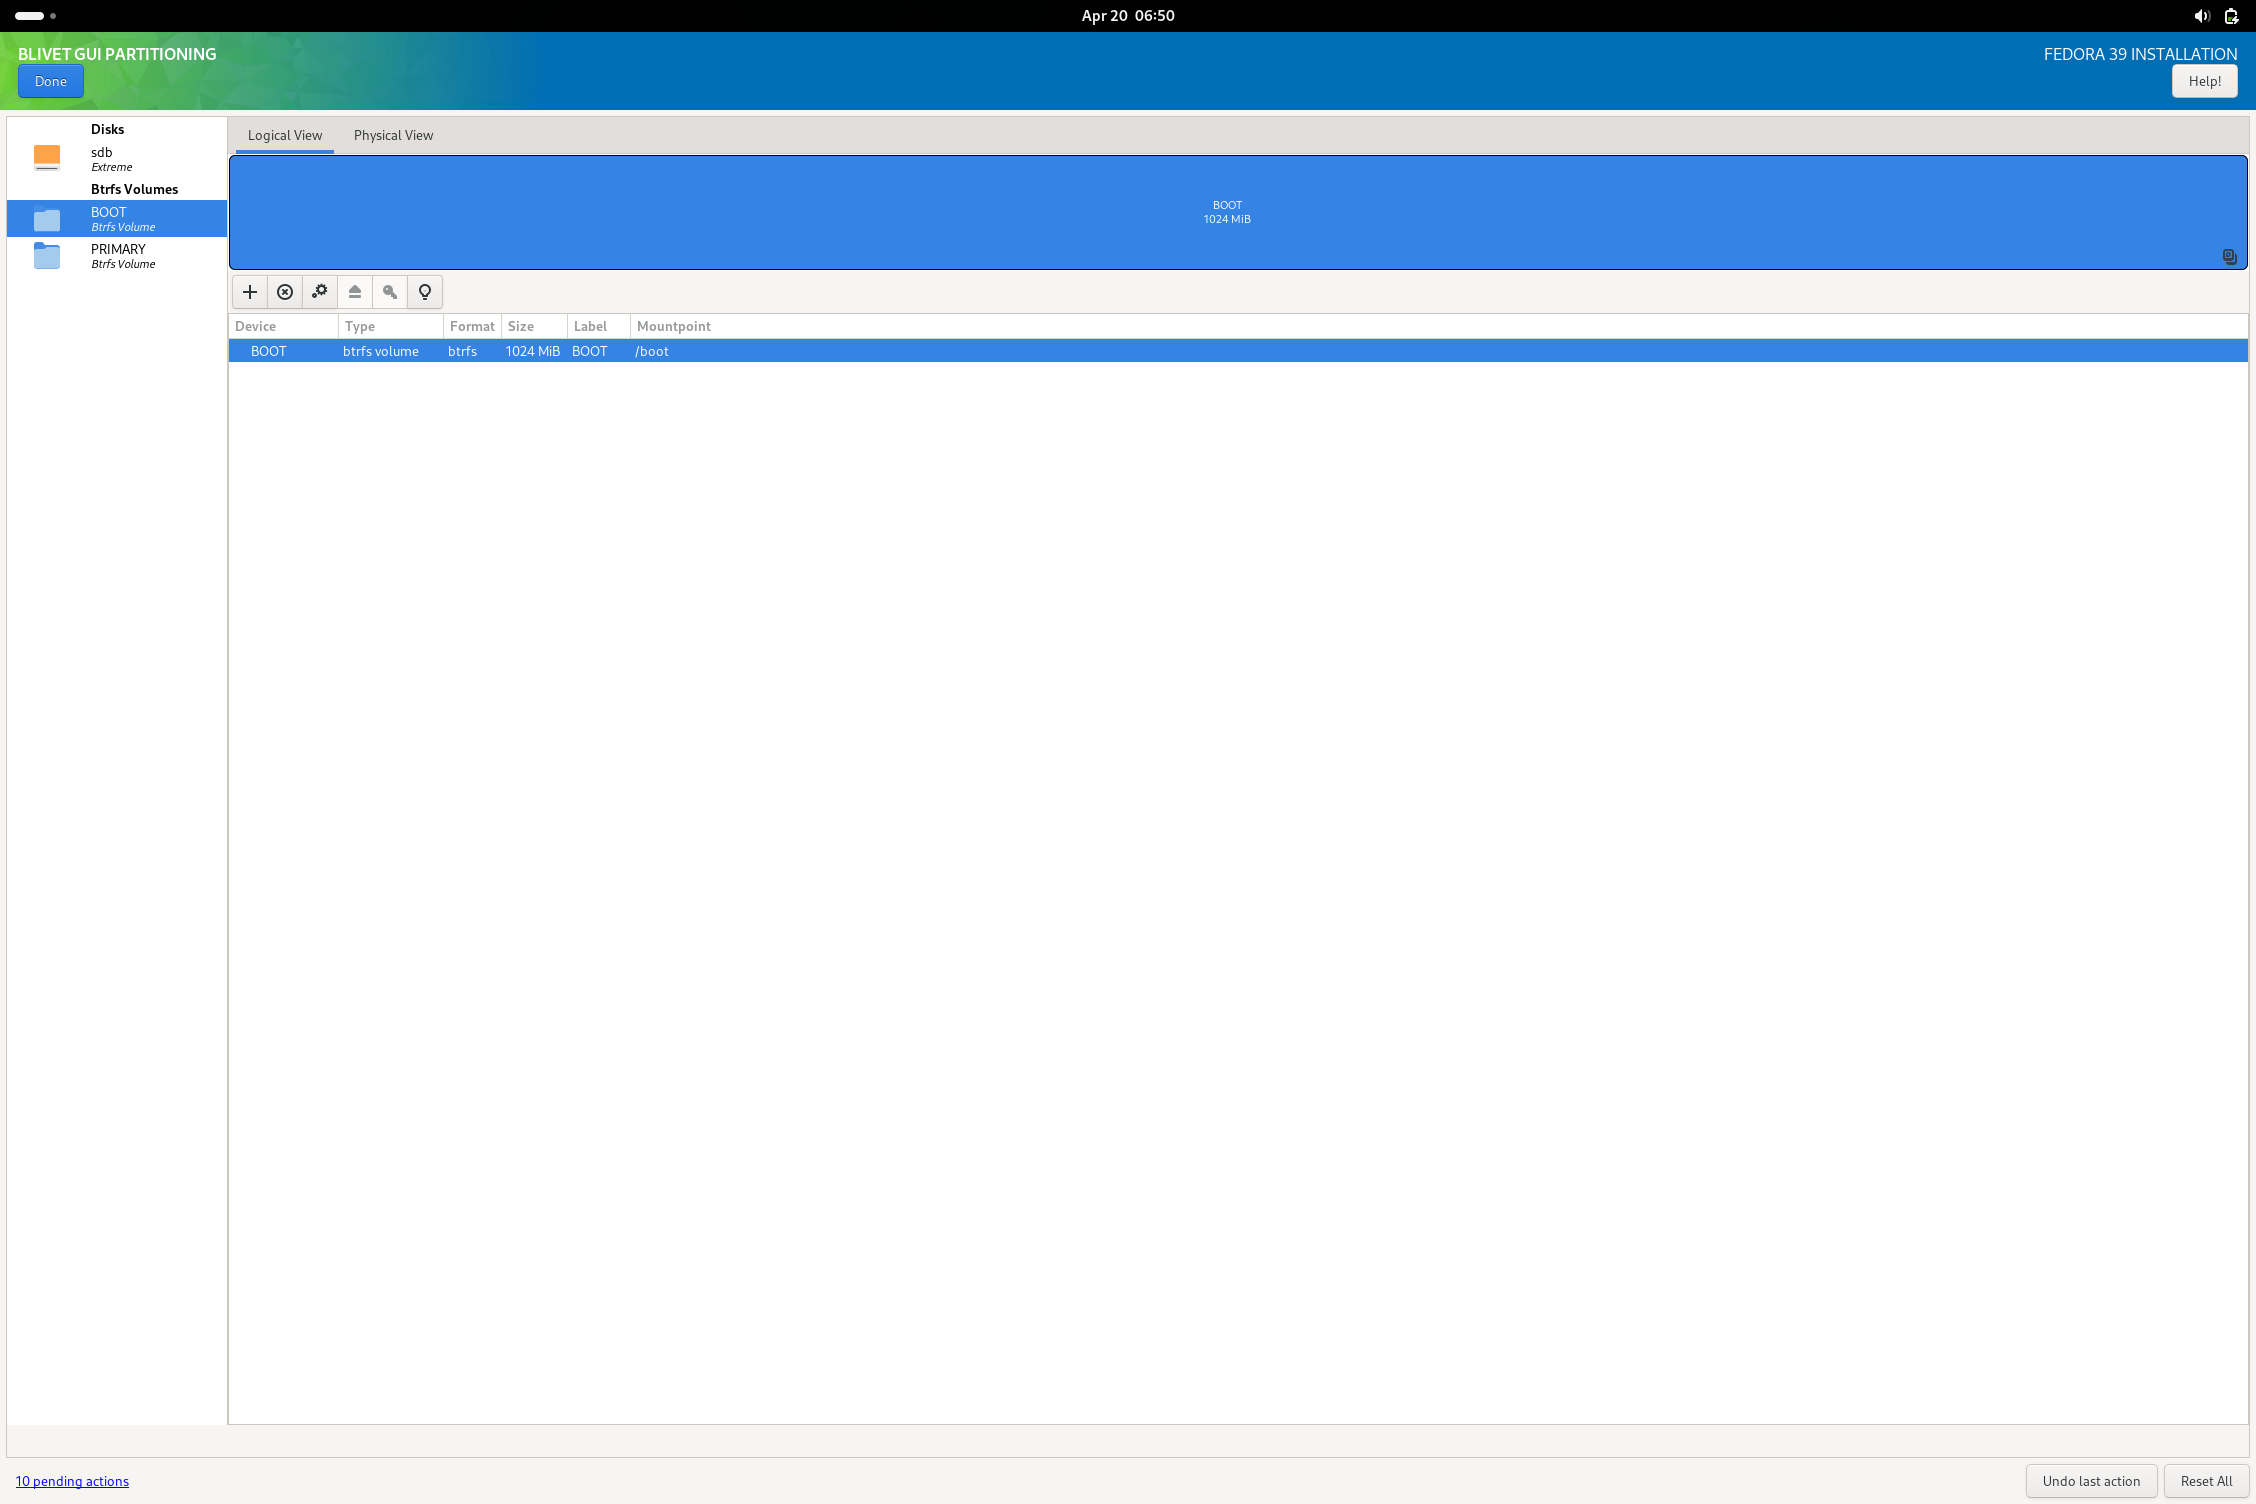
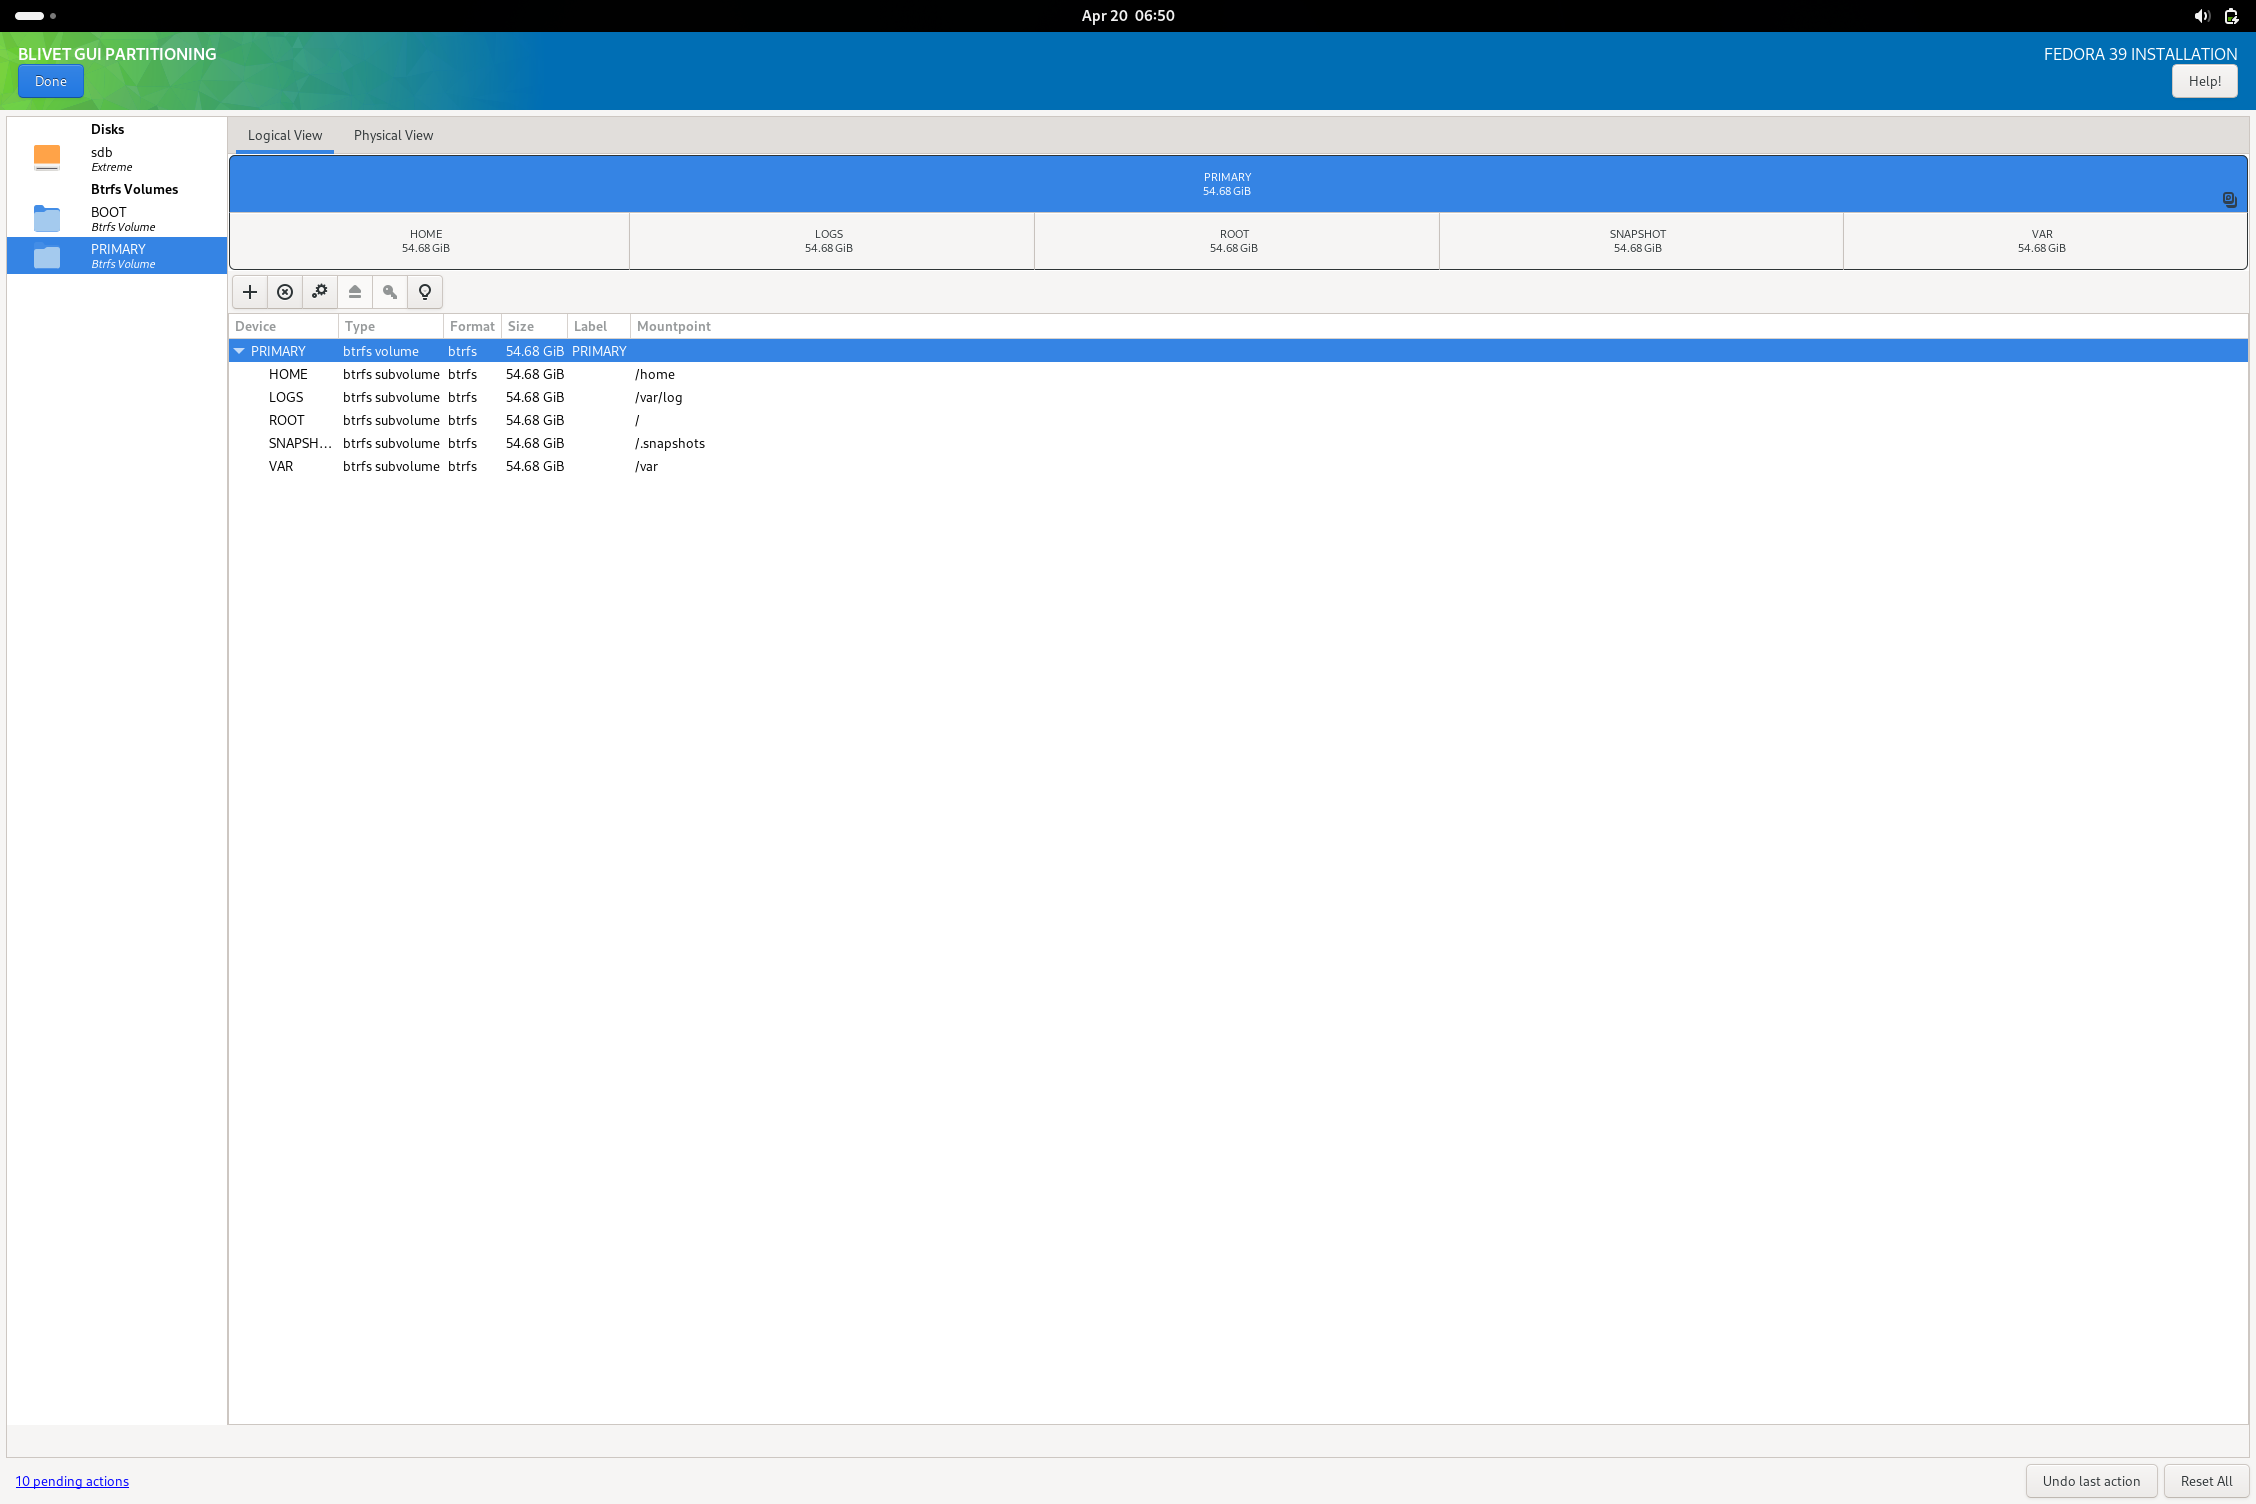
Going with the USB flash drive, I did skip using the automatic partitioning and went for using blivet to do my work. I did format the drive beforehand as I have always had issues with that drive properly accepting various partitioning commands (the installer no exception as tested). I did reserve a partition for a shared storage filesystem, but didn’t actually give it a filesystem here.
In blivet, here is a sample of the kind of partition schema I was talking about (something that might be helpful to OP or anyone else that wants to try this setup):


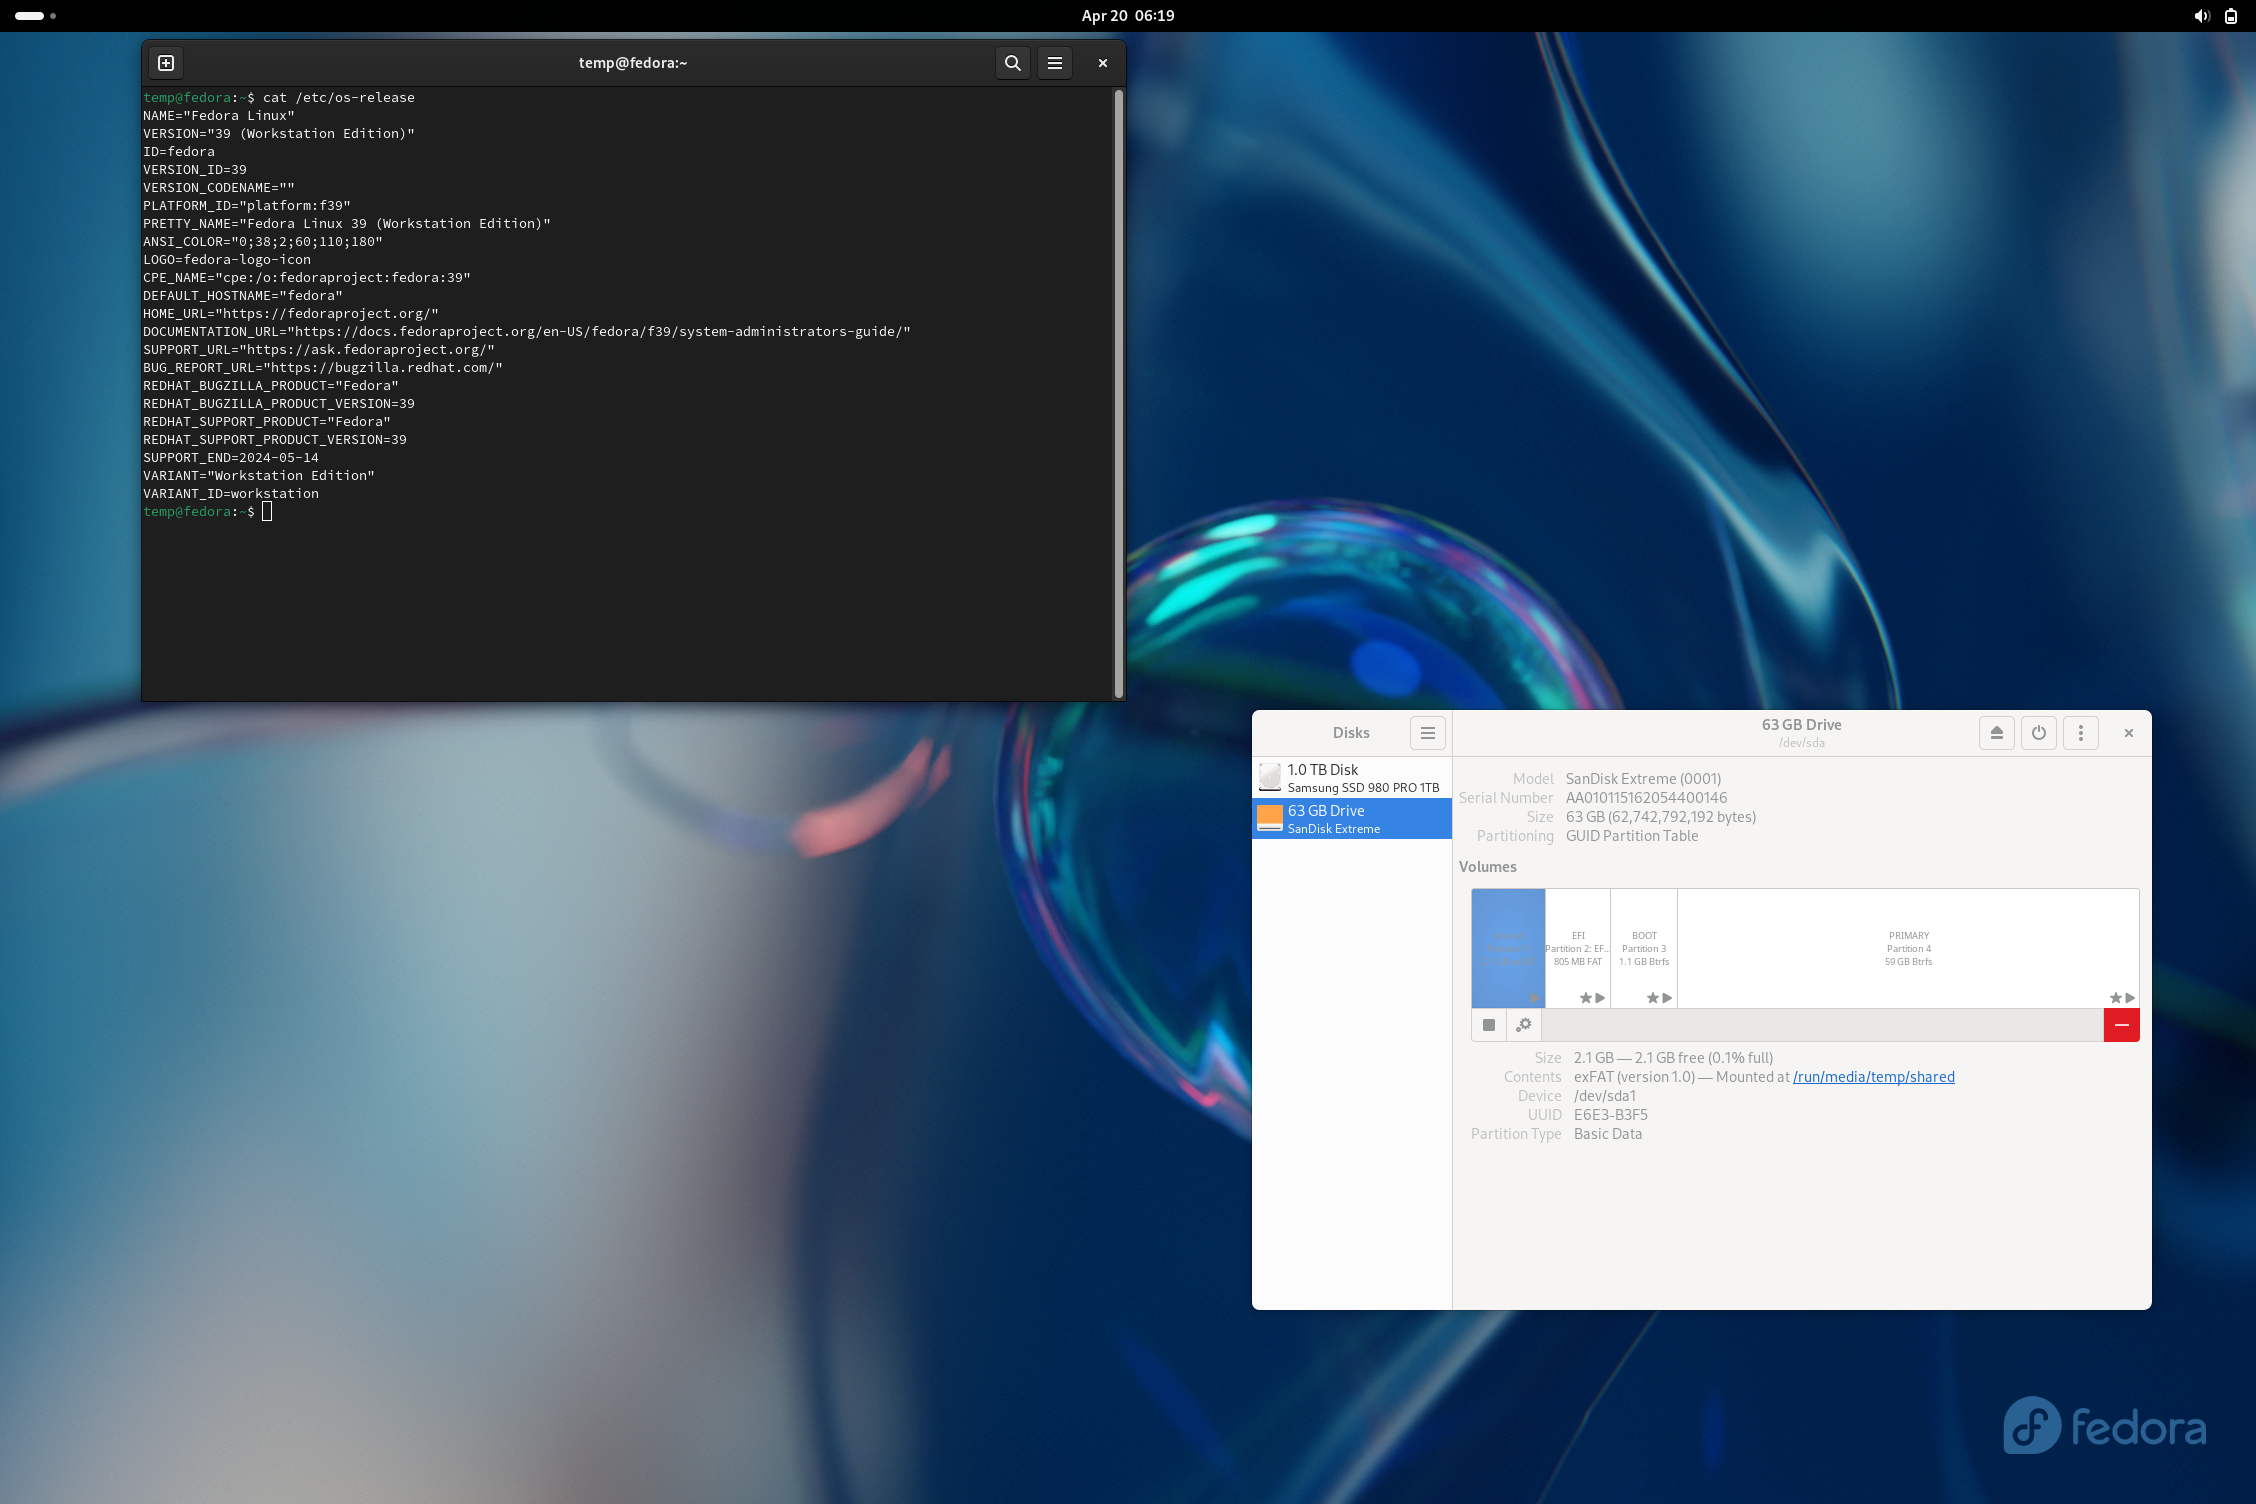
I was able to then complete the install as normal and boot into the finished USB drive. I noted a small non-fatal complaint from grub on boot, but I imagine this is fixed with updating the system. All systemd units boot without failure and I am able to get the system working with minimal issue. The only real issue I could note is that the installation is very sluggish (due to it being on a flash drive rather than an external ssd or some other more suitable media). After booting, I then opened Disks and added the missing exfat (or NTFS) filesystem I reserved a partition for. The reason I didn’t do this in blivet during install is because the option doesn’t actually exist to make an exfat fs in the tool.

Hopefully, this comment is helpful toward getting such a setup working.
EDIT:
Something I did notice with GRUB on Fedora Workstation 39 is that by default, the menu will not show unless pressing escape on boot. There is a useful AskUbuntu post that explains in detail how to access the grub menu and how to change it to behave in a better fashion for a multiboot system.

 3·7 months ago
Ah, that would put a bit of complication into things. If you want to actually accomplish this though, you should largely start with the same steps as a standard system install, using a second USB flash drive to write the distro onto the external SSD, leaving enough space to build the rest of the partitions you need. If you intend to make a Windows-shared partition (exfat, fat32, or NTFS), it is probably best to put that partition either first or just behind the EFI partition so that Windows systems won’t have a hard time finding it. Exfat or NTFS would be a better choice for this type of partition.
I would still generally recommend keeping the live distros on a separate bootable drive, but you can size and reserve dummy partitions after the rest of your normal dual-boot installs and shared data partitions for live installers to overwrite. There is likely going to be some experimentation with getting the OS bootloader (such as on GRUB provided by Fedora in this case) to pick them up and add them as boot entries. You should (depending on the live image) be able to dd write them to the ending partitions reserved for the image for as long as the partition is sized equal or larger than the ISO image’s size (it’s best to give at least a few blocks of oversize on the partition when writing ISO’s directly).
Edit: In a proper Fedora install, you should almost never need to disable selinux or set it to permissive unless you know why you don’t want it.


We are well beyond the point of a majority of common hardware having built-in kernel drivers and userland software for extra stuff like RGB control that the best advice is rather avoiding Linux, to instead avoid the trash hardware (NVidia for the time being, GoXLR, Broadcom, etc.). My GPU, audio hardware, network interfaces are both popular products and have worked out of the box for years now.